Posted by Dillon on 1st Nov 2023
Even though a tap handle is not all that complicated, knowing how to install a tap handle still takes some time and practice. In this article, we’re going to give you a comprehensive, step-by-step guide on installing and replacing a beer tap handle on your draft beer dispenser.
How to Change a Beer Tap Handle?

Here’s a quick guide on how to change a beer tap handle:
- Turn off the beer dispenser or shut off the keg to prevent any beer from spilling or pressure build-up.
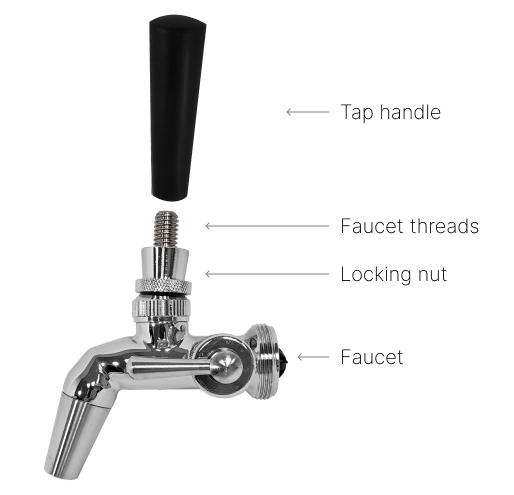
- Remove the old tap handle by unscrewing it.
- Clean the tap handle receiver or connection point on the faucet to remove any dirt or residue.
- Align the screw holes on the tap handle with the receiver on the faucet and insert the screws.
- Tighten the screws until the tap handle is securely attached.
- Turn on the beer dispenser or reopen the keg to resume normal operation.
- Pour a test beer to ensure that the new tap handle is working properly and there are no leaks. It’s done — that’s how to change a tap handle!
To learn how to replace a tap handle that’s been stuck, see the section below. When changing a beer handle, it’s important to consider the beer tap handle dimensions — this way, you can ensure a tight and leak-free connection.
How to Remove a Stuck Tap Handle
Knowing how to remove a stuck tap handle can be very helpful since a situation like this is not too uncommon. Follow this guide for a hassle-free removal.
- Prepare the tools
You will need a pair of adjustable pliers, a wrench, and a lubricant like WD-40. - Turn off the water supply
To avoid any accidental leakage or damage, turn off the water supply to the tap you want to remove. - Apply lubricant
Spray a generous amount of lubricant around the base of the tap handle where it meets the valve stem and give it a few minutes to work — that’s how to loosen a tight tap handle. - Grip the tap handle
Use a pair of adjustable pliers or a wrench to firmly grip the tap handle. - Apply gentle but firm pressure
With a slow, steady motion, try to turn the tap handle in both directions to break it free. Be careful not to apply excessive force. - Use leverage
If the tap handle is still stuck, try using a wrench for additional leverage. Insert the wrench near the base of the handle and gently rotate it to break the seal.
By following these steps, you should be able to remove a stuck tap handle without causing any damage. However, if the handle remains stubborn, it may be best to seek professional assistance to avoid any further complications or harm to your plumbing system.
How to Attach a Tap Handle?

Attaching a beer tap handle assembly is a fairly simple process that can be done in a few easy steps. Here’s a step-by-step guide on how to attach a tap handle.
- Locate the threaded hole on top of your beer faucet or kegerator
- Determine the appropriate size of the bolt or screw (it should be long enough to pass through the tap handle and into the mount while leaving enough space for tightening)
- Align the hole at the base of the tap handle with the mount on top of the faucet or kegerator
- Thread the bolt or screw through the hole in the tap handle and tighten the bolt or screw, using a wrench or screwdriver — that’s how to tighten a tap handle.
- Give the tap handle a slight twist and tug to ensure it is firmly attached.
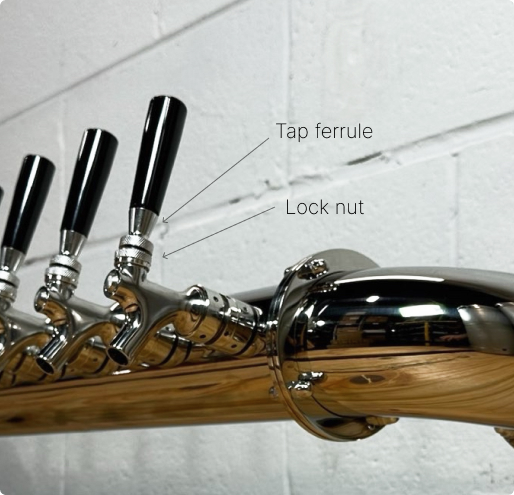
- Secure with a nut/washer (optional): some tap handles may require an additional washer or nut to secure them properly.
In case you face any difficulties, refer to the manufacturer's instructions or follow any specific guidelines on how to install a tap handle.
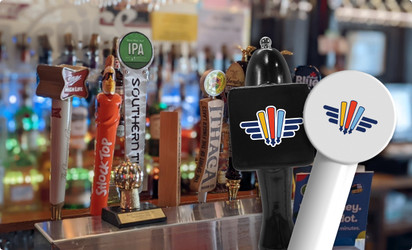
If you’re looking where to buy beer tap handles, look no further than Xpress Taphandles. We offer a wide choice of products for draft beer enthusiasts, including wooden beer tap handles, custom beer tap handles, and also beer tap handle parts.
